
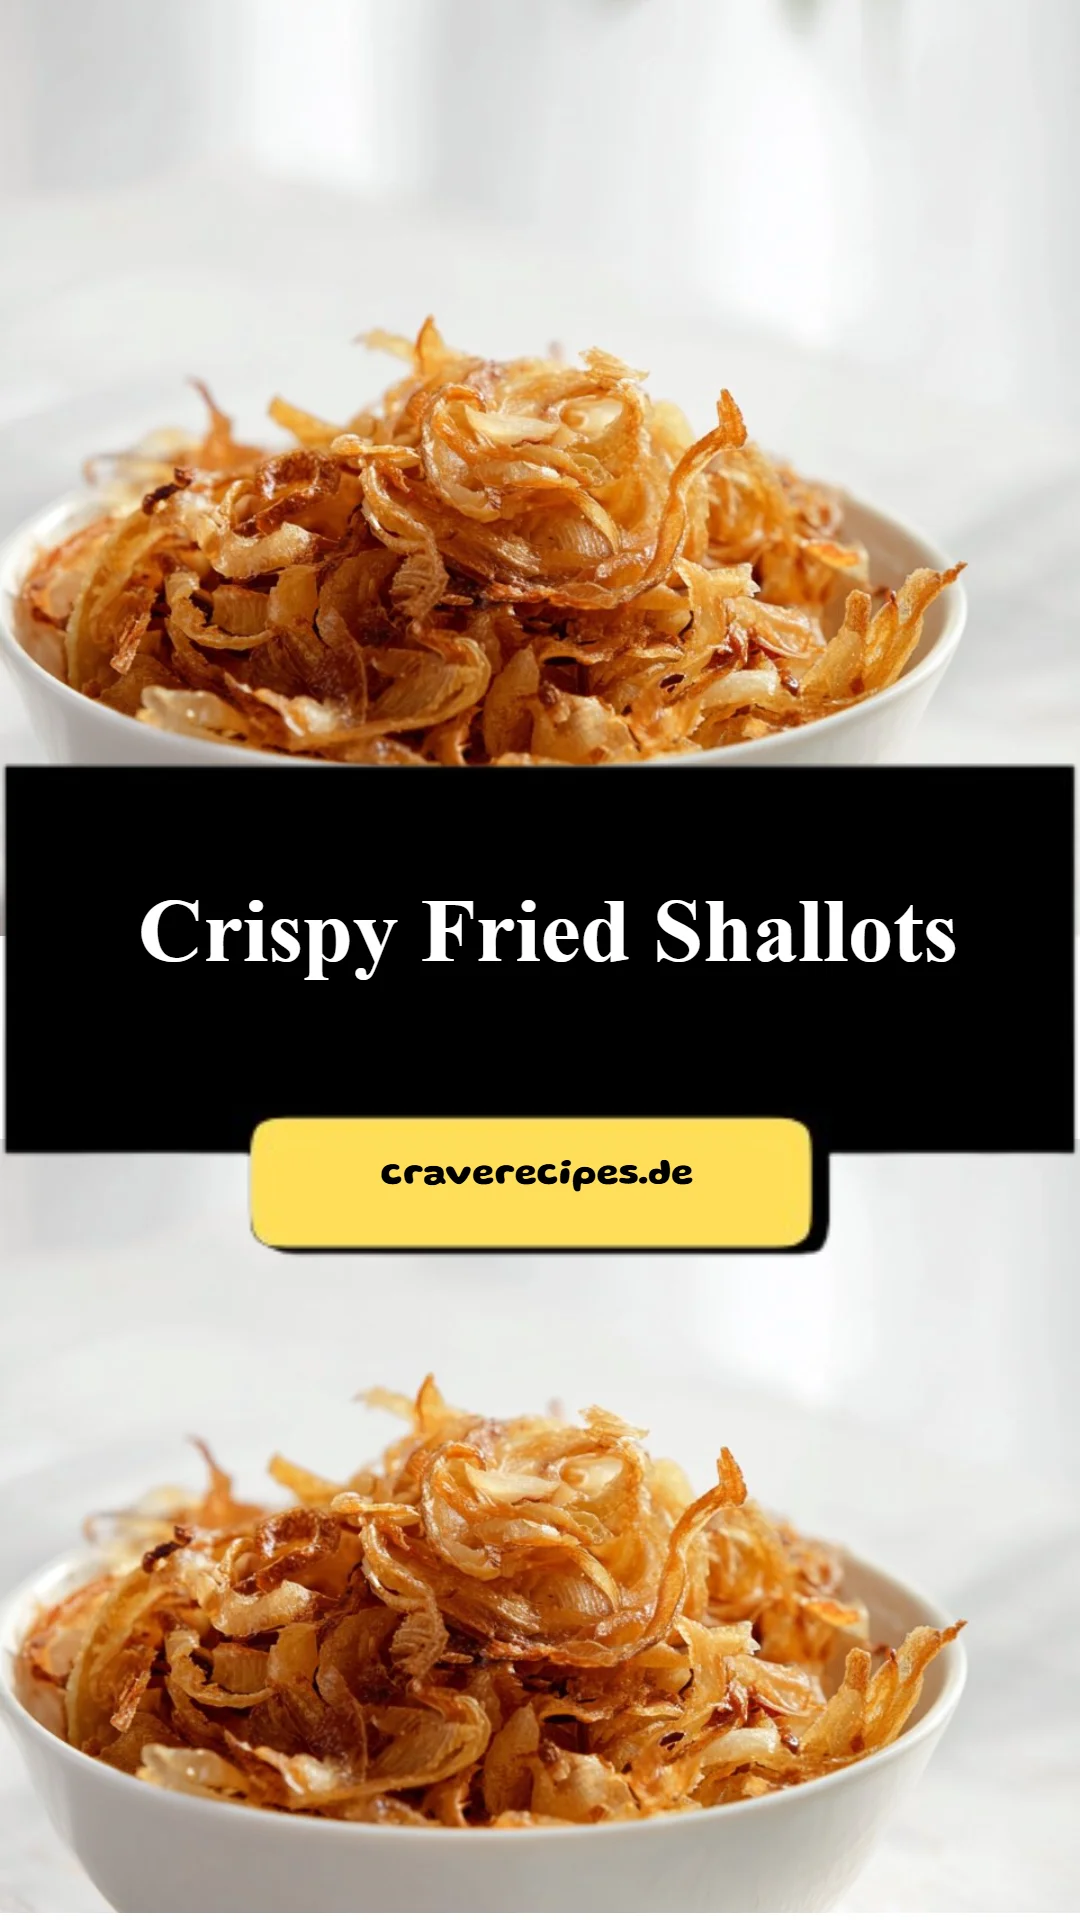
Crispy Fried Shallots: The Perfect Crunch to Elevate Your Dishes
Growing up, my kitchen was filled with the comforting aroma of my grandmother frying shallots. It was a sensory experience that sent me rushing to the kitchen, eager to taste the crispy delicacies. Those Crispy Fried Shallots became a staple in our family and an essential ingredient in many dishes—from fragrant rice and soups to salads and noodles. What makes my recipe extra special? It’s simple, using just a handful of ingredients to achieve that irresistible crunch and deep, rich flavor that you won’t find in store-bought versions.
Nothing beats the satisfaction of making these at home, where you can control the quality of the ingredients and the level of crispiness. Plus, this recipe is budget-friendly, allowing you to infuse a gourmet touch to your meals without breaking the bank. I promise you’ll learn not just how to make Crispy Fried Shallots, but how to infuse love and memories into every bite, just like my grandmother did. So let’s dive into this recipe that I’ve perfected over the years!
What Are Crispy Fried Shallots?
Crispy Fried Shallots are a delightful garnish that hails from various Asian cuisines, known for their unique taste, aroma, and satisfying crunch. Unlike onions, shallots are smaller and have a subtler sweetness with a touch of garlic flavor, making them the perfect candidate for frying. When cooked to golden perfection, they transform into a crispy delicacy, offering a delightful texture that adds depth to any dish.
These shallots are often used in Southeast Asian dishes, adding layers of flavor and a beautiful golden hue to everything from pho to rice dishes. Making them at home allows you to experience their fresh, robust flavor, which often gets lost in pre-packaged versions. Whether you need a quick topping for your salads or a crunchy addition to your soups, these shallots are incredibly versatile and easy to whip up in your kitchen.
Why You’ll Love This Recipe
-
Flavor Explosion: Crispy Fried Shallots are a game-changer for any dish. Their sweet, caramelized flavor perfectly balances savory notes, enhancing everything from your morning avocado toast to gourmet dinners.
-
Cost-Effective: Why spend money on overpriced pre-packaged fried shallots when you can make a batch at home for a fraction of the price? With just a few ingredients, this recipe saves you money while giving you fresh, homemade goodness.
-
Customization: I love that this recipe is easily adjustable. Want to spice things up? Toss in some chili powder or garlic powder with the flour for an extra flavor lift. The choice is yours!
-
Easy Peasy: You don’t need to be a culinary expert to nail this recipe! With a few simple steps, you’ll achieve that perfect crunch at home—the wow factor that impresses your family and friends.
-
Make Ahead: Preparing these in advance is not only possible but also practical. They can last for weeks in an airtight container, so you can always have crispy goodness on hand to jazz up your meals.
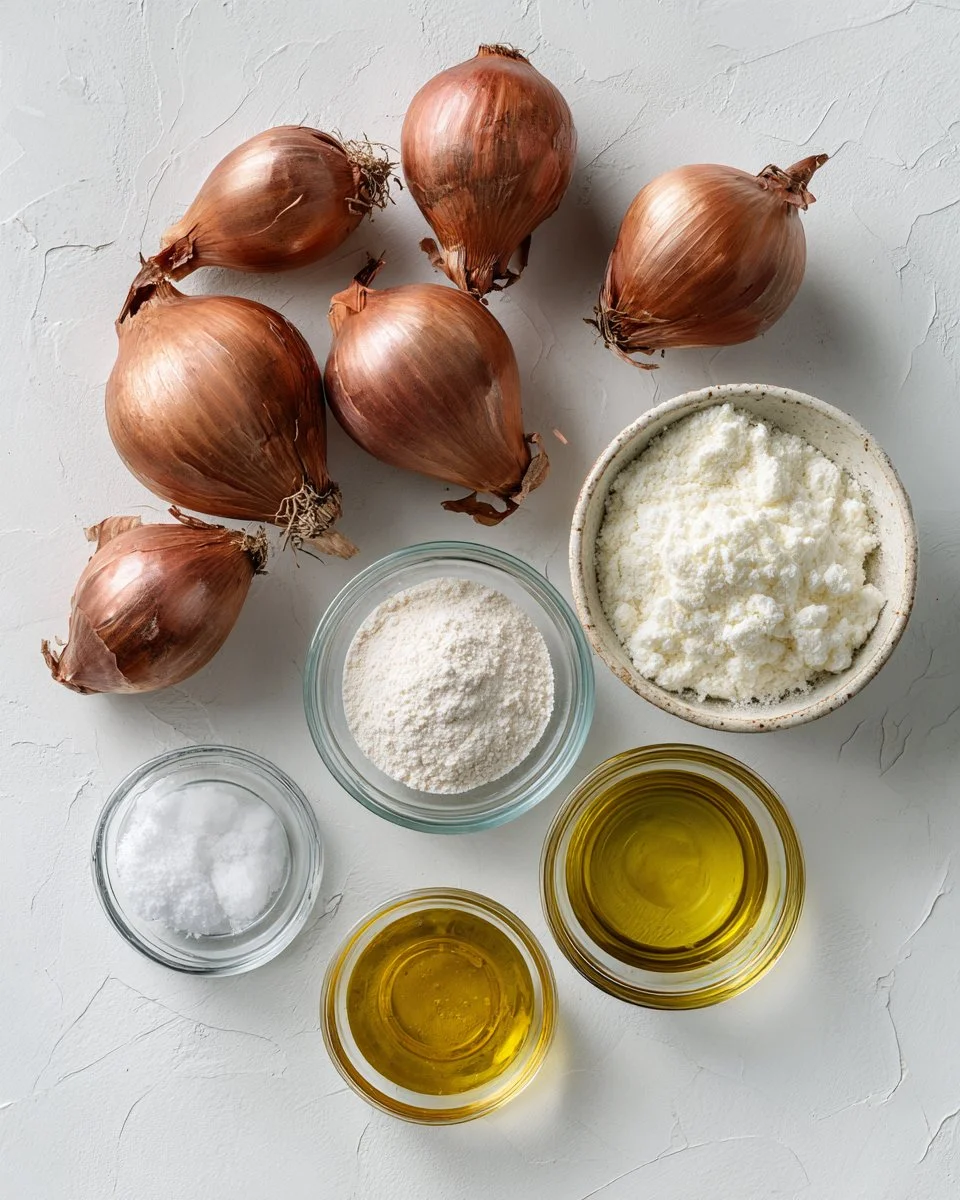
Ingredients
- 15 Shallots: Choose fresh, firm shallots for the best flavor. Organic shallots are a great option when available.
- 1 Pinch Salt: Sea salt can enhance the flavor better than regular table salt.
- 1 Tablespoon Gogi Tempura Flour: This flour works wonders for achieving that light, crispy finish. If you can’t find it, rice flour makes a great substitute.
- 1/2 Cup Oil: Use a neutral oil with a high smoke point, like canola or vegetable oil. Avoid olive oil, as it may impart a different flavor.
Prep Notes: Ensure your shallots are at room temperature; they’ll fry better that way. For best results, slice them evenly—thinner slices result in a crispier texture!
Step-by-Step Instructions
-
Peel and slice the shallots thinly and evenly: Aim for about 1/8 inch thick—this helps them cook evenly. I often say, “The thinner, the better!”
-
Prepare the shallots: Place the sliced shallots on a paper towel. Then, cover them with another paper towel to absorb excess moisture. Let them sit for about 10 minutes. This is crucial for that perfect crunch!
-
Mix the flour: While waiting, combine the tempura flour with the pinch of salt in a bowl.
-
Heat the oil: Pour the oil into a deep pan over medium heat. Allow it to heat until you see tiny bubbles forming. You want it sizzling and ready for action!
-
Coat the shallots: After 10 minutes, transfer the shallots to a bowl and sprinkle the flour mixture over them. Use your hands to toss and coat the shallots evenly.
-
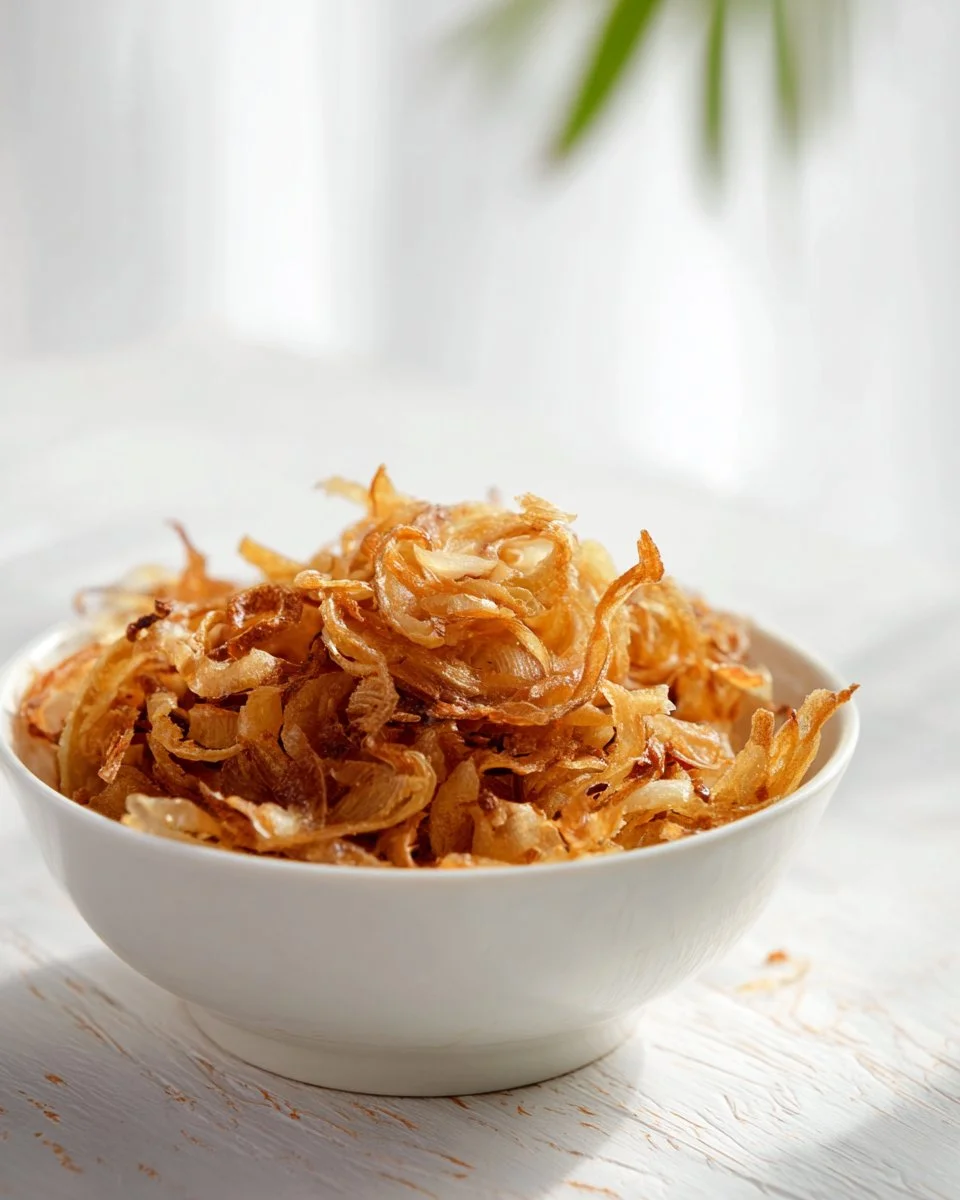
Fry until golden: Once the oil is hot, carefully drop the coated shallots into the pan. Fry for about 2-3 minutes on each side until golden brown. Watch closely, as they can go from perfect to burnt quickly!
-
Drain and cool: Use a slotted spoon to remove the shallots from the oil, letting excess oil drain into the pan. Place them on a paper towel-lined bowl to cool completely.
-
Store properly: Once cooled, transfer them to an airtight container. They can last for up to two weeks, but trust me, they’ll be gone long before that!
Expert Tips & Tricks
-
Slice them even: For consistent cooking, make sure your shallots are of uniform thickness.
-
Oil temperature matters: Test the oil by dropping in a small piece of shallot; if it sizzles vigorously, you’re ready to fry!
-
Don’t overcrowd the pan: Fry in batches! Overcrowding lowers the oil temperature and results in soggy shallots.
-
Storage: Keep them in an airtight container at room temperature away from humidity. Avoid the fridge; moisture can make them lose their crunch.
-
Make-ahead instructions: Prep a batch ahead of time and sprinkle them over dishes just before serving for maximum freshness.
-
Troubleshooting: If your shallots aren’t getting crispy, check the oil temperature. It should be hot enough to sizzle on contact but not smoking.
Serving Suggestions
Crispy Fried Shallots shine as a garnish for a variety of dishes. Try them atop a comforting bowl of ramen or sprinkled over a fresh salad for added texture. They also make a delightful addition to stir-fried noodles or even as a crunchy topping on creamy soups. For presentation, serve in a quaint dish alongside your main course, adding that touch of elegance perfect for dinner parties or casual family meals.
Variations & Substitutions
- Herb Boost: Toss in chopped fresh herbs like parsley or coriander right after frying for a fresh twist.
- Spicy Upgrade: Add a dash of cayenne pepper or smoked paprika to the flour mixture for a kick.
- Vegan Option: The original recipe is already vegan! Perfect for plant-based eaters.
- Seasonal Flavors: In autumn, try adding a sprinkle of nutmeg to the flour for a festive touch.
Nutrition & Storage Info
- Prep Time: 15 minutes
- Cook Time: 10 minutes
- Total Time: 25 minutes
- Yield: 2 cups of crispy shallots (approx. 16 servings)
- Estimated Calories: 30 calories per serving (2 tablespoons)
- Storage: Store at room temperature in an airtight container. Enjoy within two weeks for the best crunch!
FAQ Section
-
Can I use regular onions instead of shallots?
- While shallots add a unique sweetness and flavor, you can substitute them with thinly sliced onions. Just remember they will have a stronger taste.
-
Why are my shallots not crispy?
- Often, this is due to excess moisture. Make sure to pat them dry thoroughly after slicing, and ensure your oil is hot enough when you fry them.
-
How do I know when the oil is ready?
- A simple test is to drop a small piece of bread or shallot into the oil; if it bubbles vigorously, it’s ready for frying.
-
Can I freeze crispy fried shallots?
- Freezing is not recommended, as they can lose their crunch. It’s best to store them at room temperature.
-
How can I maintain their crunch?
- Always store them in an airtight container away from moisture and heat to keep them crisp.
-
What should I do if the shallots burn?
- If they start burning, immediately lower the heat. If they’re already burnt, it’s best to discard them and start fresh to avoid bitterness in your dish.
-
Can I double this recipe?
- Absolutely! Just make sure to fry them in batches to maintain the right oil temperature and achieve that perfect golden brown color.
-
Is there a gluten-free alternative for tempura flour?
- Yes! Use rice flour or a gluten-free all-purpose flour mix for a similar crispiness.
-
What cuisines feature crispy shallots?
- Crispy shallots are popular in many Asian cuisines, including Vietnamese, Malaysian, and Indonesian dishes.
-
How else can I use leftovers?
- Sprinkle them over baked potatoes, as a topping for pizza, or even in omelets for an extra crunch!
Conclusion
In conclusion, making Crispy Fried Shallots at home not only elevates your dishes but also brings back cherished family memories. Perfecting this recipe is incredibly rewarding, and I can’t wait for you to experience that delightful crunch in your dishes. I’d love to hear how your shallots turned out and any tips you discover along the way. And don’t forget to explore more related recipes on my blog—there’s always room for more flavor and fun in the kitchen!
Happy Cooking! 🍽️

Crispy Fried Shallots
Ingredients
Method
- Peel and slice the shallots thinly and evenly to about 1/8 inch thick.
- Place the sliced shallots on a paper towel, cover with another paper towel, and let them sit for about 10 minutes to absorb excess moisture.
- Combine the tempura flour with a pinch of salt in a bowl.
- Heat the oil in a deep pan over medium heat until tiny bubbles form.
- Transfer the shallots to a bowl, sprinkle the flour mixture over them, and toss to coat evenly.
- Carefully drop the coated shallots into the hot oil and fry for about 2-3 minutes on each side until golden brown.
- Use a slotted spoon to remove the shallots, letting excess oil drain into the pan.
- Place the fried shallots on a paper towel-lined bowl to cool completely.
- Transfer cooled shallots to an airtight container. They can last for up to two weeks.