
Irresistible Polar Bear Paws: A Comforting Family Treat
As a food blogger, nothing brings me more joy than sharing recipes that have the power to evoke cherished memories. One such delightful treat is Polar Bear Paws. I remember the first time I tasted these marvelous creations at my grandmother’s kitchen during snowy family gatherings. The moment the sweet and salty clusters melted in my mouth, it felt like pure joy encapsulated in chocolate.
What truly sets these Polar Bear Paws apart is the beautiful balance of rich caramel, crunchy peanuts, and the smooth coat of almond bark—it’s a texture and flavor match made in heaven! This recipe is not just about whipping up something sweet; it’s about creating family legacy desserts that spark joy and conversation.
With this version of Polar Bear Paws, I promise you’ll discover why homemade treats always trump store-bought versions. You’ll be amazed at how easy they are to make and how they become an instant hit at any gathering—think of them as edible hugs! So, roll up your sleeves, and let’s dive into the world of Polar Bear Paws that you can whip up in your own kitchen.
What Are Polar Bear Paws?
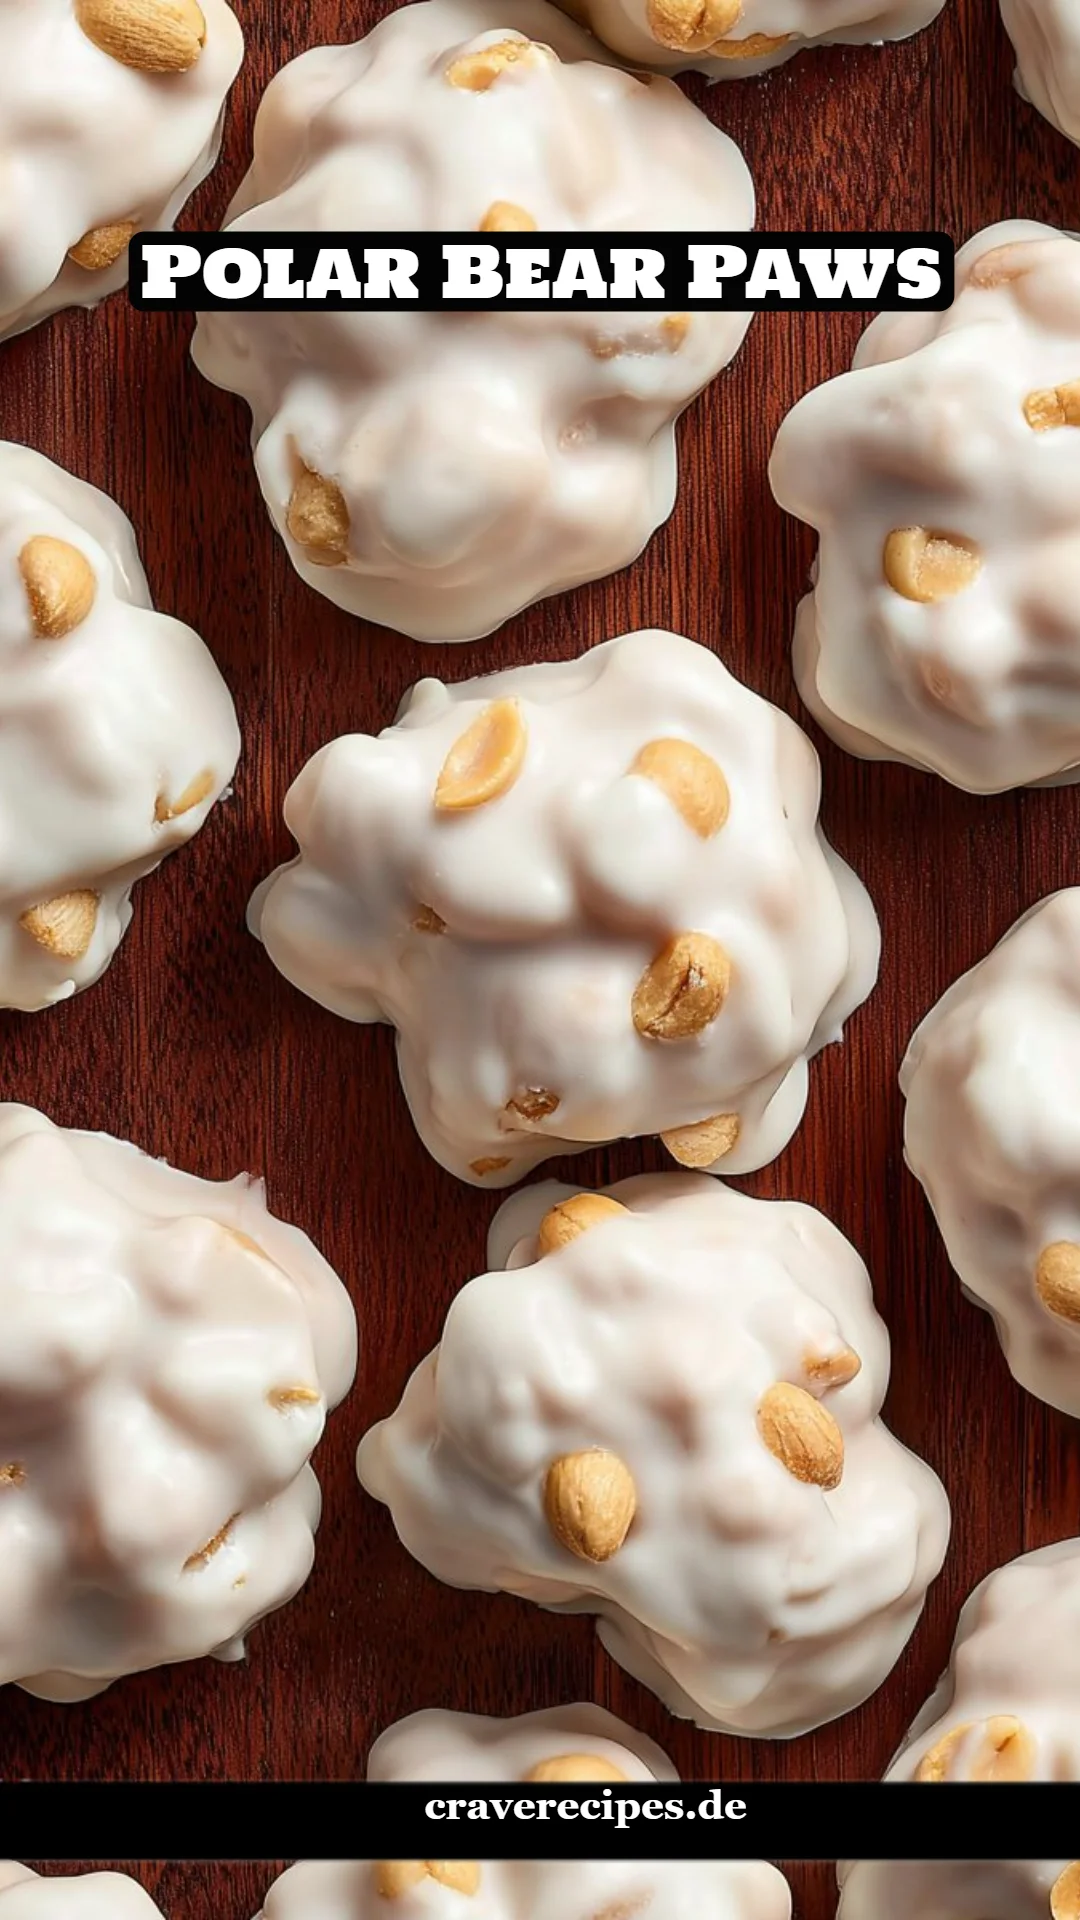
The origins of Polar Bear Paws are a mix of folklore and family tradition, often favored in colder months when comfort food is a must. These delightful snacks are clusters made primarily of caramel-coated peanuts, coated generously in creamy vanilla almond bark, giving them both crunch and melt-in-your-mouth quality.
What truly makes them unique is the simplicity of their ingredients combined with the delightful taste explosion in every bite. Caramel’s sweetness complements the saltiness of peanuts, while the almond bark acts as a luscious shell. These treats are perfect for cozy family nights or holiday gatherings, bringing everyone together around a bowl of homemade yumminess!
Why You’ll Love This Recipe
-
Simple & Quick: This recipe for Polar Bear Paws requires minimal prep, making it a great choice even for beginners. You’ll be in and out of the kitchen in under an hour!
-
Budget-Friendly: Comparing homemade vs. store-bought, you’ll find that making your own Polar Bear Paws costs significantly less while yielding a larger batch of these delightful nuggets.
-
Customization Galore: Want to make them chewy? Use mini marshmallows! Prefer a different nut? Swap peanuts for almonds or cashews! With easy swaps, the possibilities are endless.
-
Impressive Presentation: These treats don’t just taste great; they look fabulous too! Perfectly formed clusters covered in white chocolate make a stunning addition to any dessert table.
-
Family-Friendly Fun: Get your kids involved! Measuring, mixing, and shaping these treats can turn into a delightful bonding experience with your little ones.
When you make Polar Bear Paws at home, you’re not just creating delicious snacks; you’re creating memories and experiences that last a lifetime.
Ingredients
Here’s what you’ll need to bring your Polar Bear Paws to life:
- 1 bag (11 ounces) caramel bits: For that gooey, rich caramel flavor.
- 1 tablespoon unsalted butter: This ensures a silky smooth melting process. Use room temperature butter for easy mixing!
- 3 tablespoons heavy cream: Adds extra richness and helps soften the caramel.
- 1 ½ cups (219 g) dry roasted peanuts, salted: The perfect crunchy contrast to the sweetness.
- 16 ounces vanilla almond bark: This will coat your clusters with creamy goodness. Look for high-quality brands like Merckens or Ghirardelli.
Prep Notes:
- Make sure to have your butter at room temperature for smoother mixing.
- For nut allergies, substitutes like sunflower seeds or pumpkin seeds work wonderfully!
Step-by-Step Instructions
-
Preparation: Start by lining a baking sheet with parchment paper and set it aside. This keeps your clusters from sticking—trust me, you don’t want to skip this step!
-
Melt The Caramel: In a microwave-safe bowl, combine the caramel bits, butter, and heavy cream. Microwave in 30-second intervals, stirring in between each time until the mixture is completely melted and smooth—this will take about 1-2 minutes.
Chef’s Tip: Be careful not to overheat; burnt caramel is a no-no!
-
Mix In The Peanuts: Stir 1 ½ cups of dry roasted peanuts into the melted caramel until they are fully coated.
-
Form Clusters: Using a spoon, drop clusters of the caramel peanut mixture onto the lined baking sheet. Aim for the size of a golf ball for a hearty bite!
-
Chill: Place the baking sheet in the fridge and chill for 30 minutes to firm up the clusters.
-
Melt The Almond Bark: While the clusters are chilling, melt the vanilla almond bark in the microwave using the same method—30 seconds and stir until smooth.
-
Coat The Clusters: Once the clusters are firm, dip each one into the melted almond bark, ensuring they are fully covered. Place them back on the baking sheet.
-
Set: Allow the clusters to set at room temperature or place them in the fridge for about 15 minutes for faster results.
-
Storage: Store your Polar Bear Paws in an airtight container. You’ll likely need to hide them from family—they disappear quickly!
Common Mistakes to Avoid:
- Don’t rush the melting process; it’s better to be patient.
- Ensure peanuts are fully coated—this enhances flavor and texture!
Expert Tips & Tricks
-
Storage: These treats store beautifully in an airtight container for up to two weeks. You can also freeze them for up to 3 months; just let them thaw at room temperature when ready to eat.
-
Make-Ahead Instructions: If you plan on making these for a gathering, consider preparing them a few days in advance. They taste even better after a day or two as flavors meld!
-
Troubleshooting: If your almond bark is too thick to dip, you can reheat it gently and add a splash of coconut oil to achieve a smoother consistency.
-
Don’t Skip Chilling: Firming the clusters beforehand makes dipping a breeze and prevents them from falling apart.
-
Personal Touch: Feel free to add a pinch of sea salt on top before the chocolate sets for an irresistible salty-sweet blend!
Serving Suggestions
These Polar Bear Paws are fantastic on their own, but they also pair beautifully with a warm cup of cocoa or milk. For an impressive presentation, arrange them on a decorative platter alongside seasonal fruits or nuts. They are perfect for holiday parties, casual get-togethers, or any time you crave a little indulgence.
Variations & Substitutions
- Different Flavors: Add in some chocolate chips for a chocolatey twist, or sprinkle in shredded coconut for a tropical flair.
- Dietary Restrictions: For gluten-free options, make sure the almond bark is certified gluten-free. You could also use dairy-free chocolate for a vegan version.
- Seasonal Inspired: During the holidays, try adding in festive spices or dipped in colored chocolate coatings for a seasonal look.
Nutrition & Storage Info
- Prep Time: 15 minutes
- Cook Time: 15 minutes
- Total Time: 30 minutes
- Yield: About 18 servings (3 clusters each)
- Estimated Calories: Approximately 150 calories per serving
- Storage Instructions: Keep in an airtight container at room temperature for up to 2 weeks, or freeze for up to 3 months.
FAQ Section
-
Can I use regular chocolate instead of almond bark?
Yes! Feel free to use milk or dark chocolate; just melt it at a lower temperature to avoid burning. -
Can I use unsalted peanuts?
Absolutely! Just add a sprinkle of salt after they are coated in chocolate if you prefer the salty-sweet combo. -
What can I do if my almond bark is thick?
You can remelt it and add a teaspoon of coconut oil or vegetable shortening to achieve a smoother consistency. -
Is there a way to make these nut-free?
Yes! Substitute the peanuts with sunflower seeds or pumpkin seeds for a similar crunch. -
How do I know when the caramel is done melting?
Once you see a smooth and glossy texture without any lumps, it’s ready! -
Can I add other ingredients to the clusters?
Yes! Feel free to mix in mini marshmallows, dried fruit, or pretzels for an extra kick. -
What’s the best way to store these?
Keep in an airtight container at room temperature—if humidity is high, refrigeration may be necessary. -
Can I use homemade caramel?
Yes, though store-bought caramel bits are usually more convenient for melting and mixing. -
Do these need to be refrigerated?
No, they can stay at room temperature, but chilling can enhance the texture! -
How long do these last in the freezer?
They last up to 3 months in the freezer.
Conclusion
These homemade Polar Bear Paws are more than just a treat; they are a celebration of flavors, nostalgia, and love. I encourage you to give them a try, and I’d love to hear your experiences or any twists you added! Don’t forget to check out my blog for other cozy recipes that make memories worthwhile.
Happy baking, and may your kitchen smell as sweet as the treats you create!
Polar Bear Paws
Ingredients
Method
- Start by lining a baking sheet with parchment paper and set it aside.
- In a microwave-safe bowl, combine the caramel bits, butter, and heavy cream. Microwave in 30-second intervals, stirring in between each time until the mixture is completely melted and smooth—this will take about 1-2 minutes.
- Be careful not to overheat; burnt caramel is a no-no!
- Stir 1 ½ cups of dry roasted peanuts into the melted caramel until they are fully coated.
- Using a spoon, drop clusters of the caramel peanut mixture onto the lined baking sheet, aiming for the size of a golf ball.
- Place the baking sheet in the fridge and chill for 30 minutes to firm up the clusters.
- While the clusters are chilling, melt the vanilla almond bark in the microwave using the same method—30 seconds and stir until smooth.
- Once the clusters are firm, dip each one into the melted almond bark, ensuring they are fully covered. Place them back on the baking sheet.
- Allow the clusters to set at room temperature or place them in the fridge for about 15 minutes for faster results.
- Store your Polar Bear Paws in an airtight container.