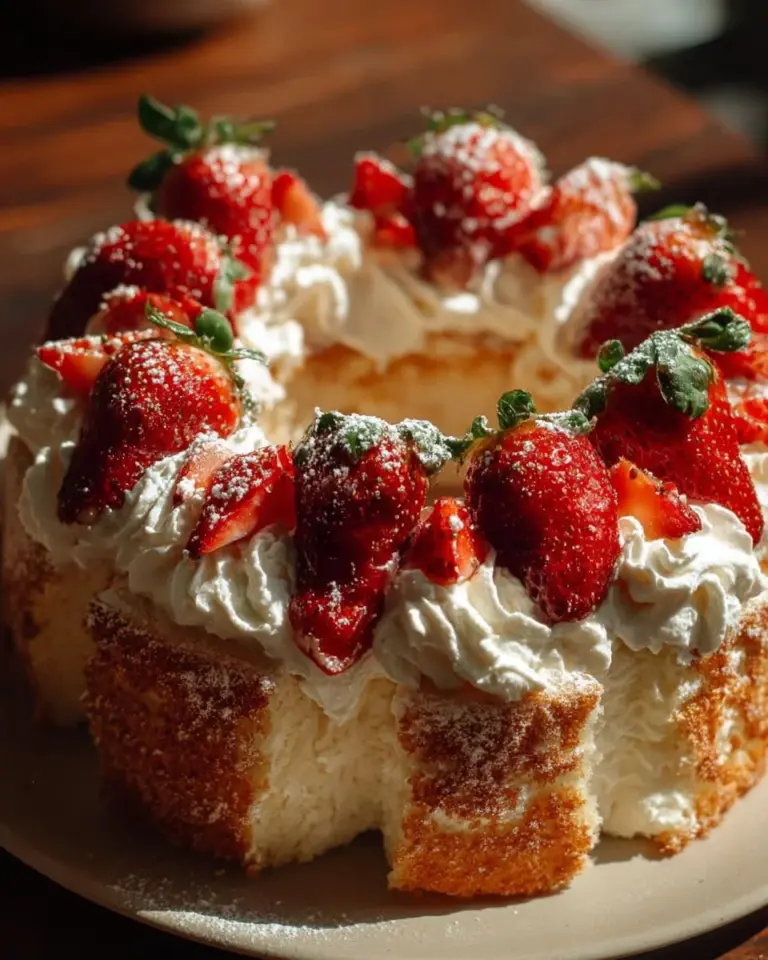

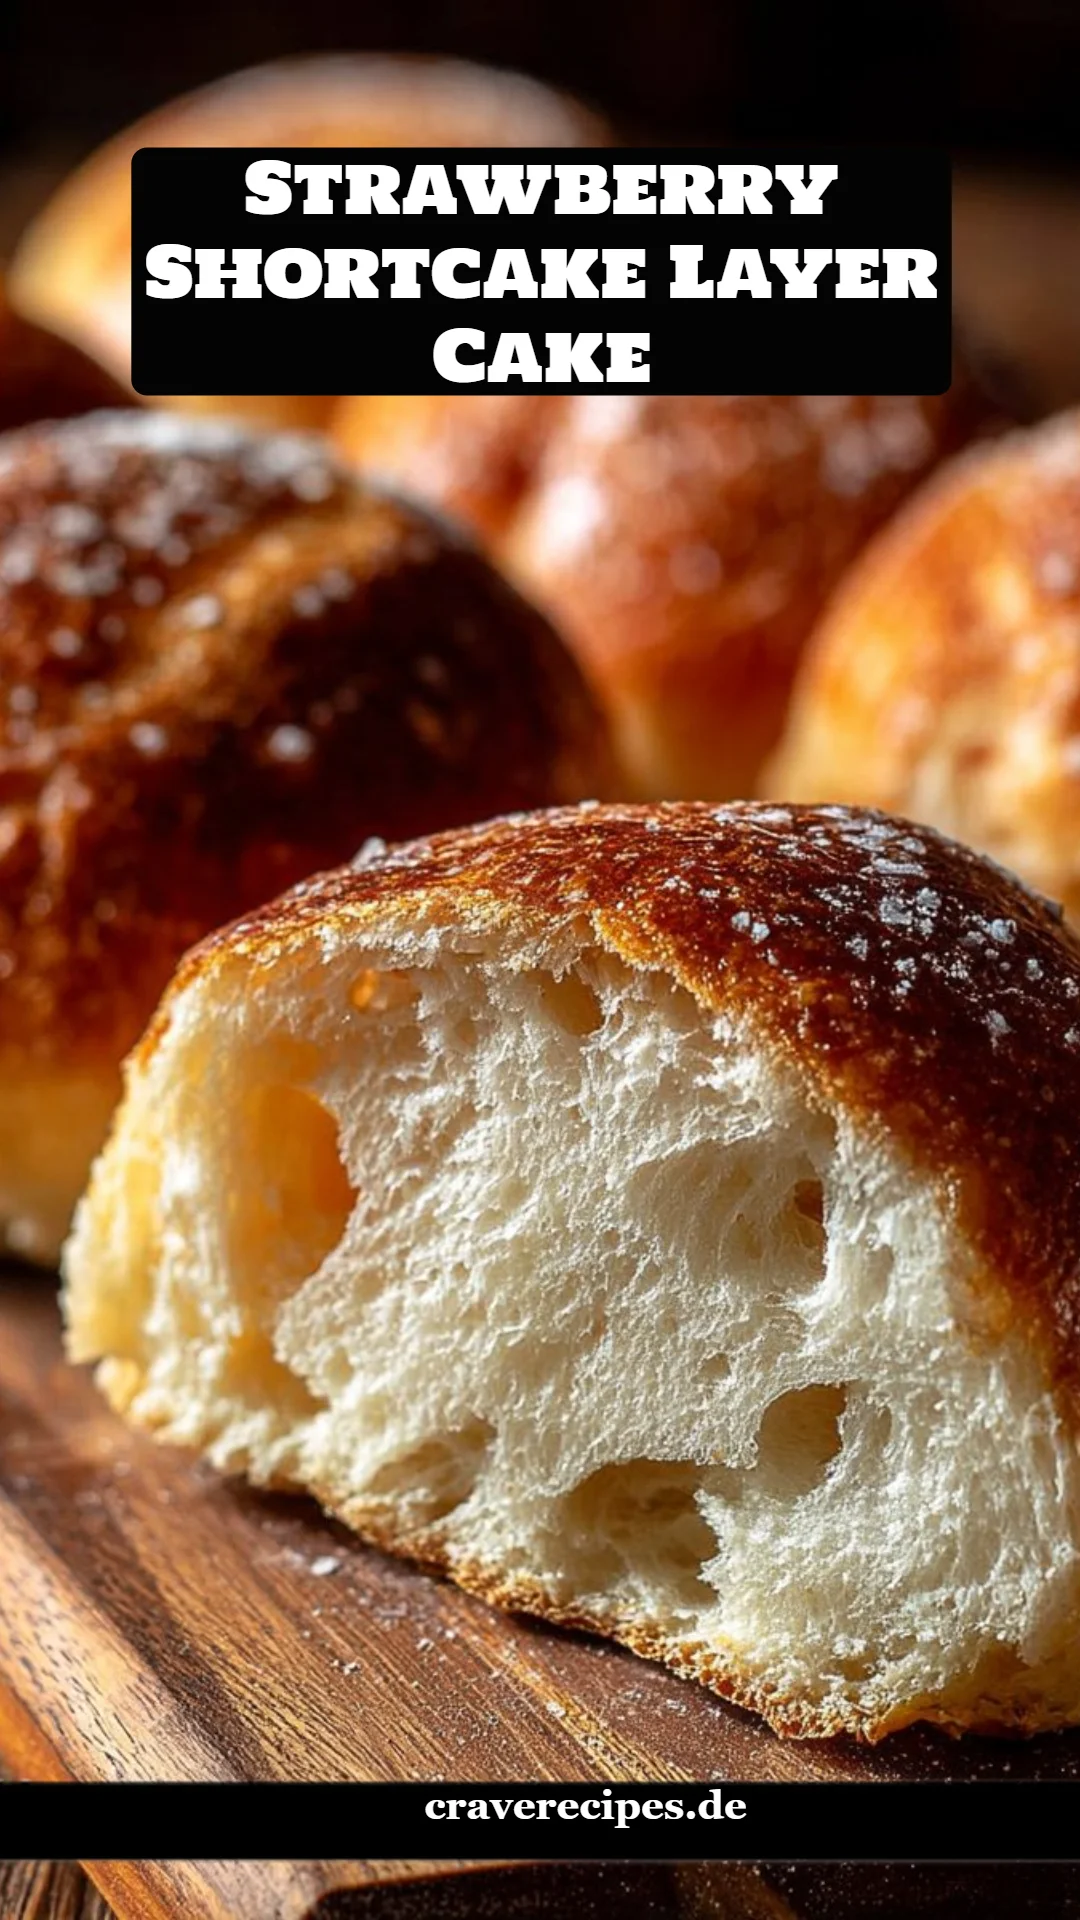
The Ultimate Strawberry Shortcake Layer Cake: A Slice of Summer Happiness
Oh, the delightful smell of strawberries filling the air! It takes me back to my childhood, where summer days were spent in my grandma’s kitchen, slaving away over her cherished strawberry shortcake layer cake. I can still hear her laughter as she whipped up the most ethereal whipped cream, topping off the layers of moist cake and sweet strawberries. Strawberry Shortcake Layer Cake is not just a dessert; it’s a joy-infused experience, wrapped up in generations of family memories.
This version of Strawberry Shortcake Layer Cake is extra special. It’s a fluffy wonder of three layers that embrace fresh strawberries, enveloped in light whipped cream and a hint of vanilla that dances on your taste buds. Trust me; this is a step above the store-bought version, providing you that homemade touch that simply can’t be replicated. Plus, you’ll impress your family and friends with your baking prowess!
In this post, I’ll walk you through the steps of crafting your own Strawberry Shortcake Layer Cake, share some pro tips, and help you create a dessert that will be the star of any celebration. Are you ready to get your baking gloves on?
What Are Strawberry Shortcake Layer Cakes?
Strawberry Shortcake Layer Cakes have a rich history, tracing their roots back to the early American colonists who had a fondness for strawberries. The combination of sweet strawberries with buttery cake was revolutionary and quickly became a favorite summer dessert. Today, this cake remains a symbol of carefree summer picnics and family gatherings.
In terms of taste and texture, imagine sinking your fork into light, fluffy cake layers, soft and moist from the fresh strawberries. The sweetened cream enhances the flavor, creating a symphony of taste that is both indulgent and comforting.
These cakes are perfect for numerous occasions—be it birthdays, anniversaries, or the classic summer barbecue. They evoke joyful memories and create new ones, making each bite not just a delight for your palate but also for your heart.
Why You’ll Love This Recipe
- Flavor Explosion: Unlike pre-packaged cakes, this homemade version bursts with fresh fruit flavor and a creamy texture that makes every bite feel like a hug.
- Cost-Effective: You can whip up this cake at home for a fraction of what you’d spend at a bakery. Plus, it tastes way better!
- Customization: Want to mix things up? This cake is the perfect base for various flavors. You can swap strawberries for raspberries or even add lemon zest for a refreshing twist.
- Easy to Make: I promise, even novice bakers can conquer this cake with just a bit of patience and love.
- Perfect for Any Occasion: With its vibrant colors and fresh ingredients, this Strawberry Shortcake Layer Cake is tailored for everything from family picnics to elegant dinner parties.
With a little bit of love and flour, you’re only a few steps away from creating something spectacular!
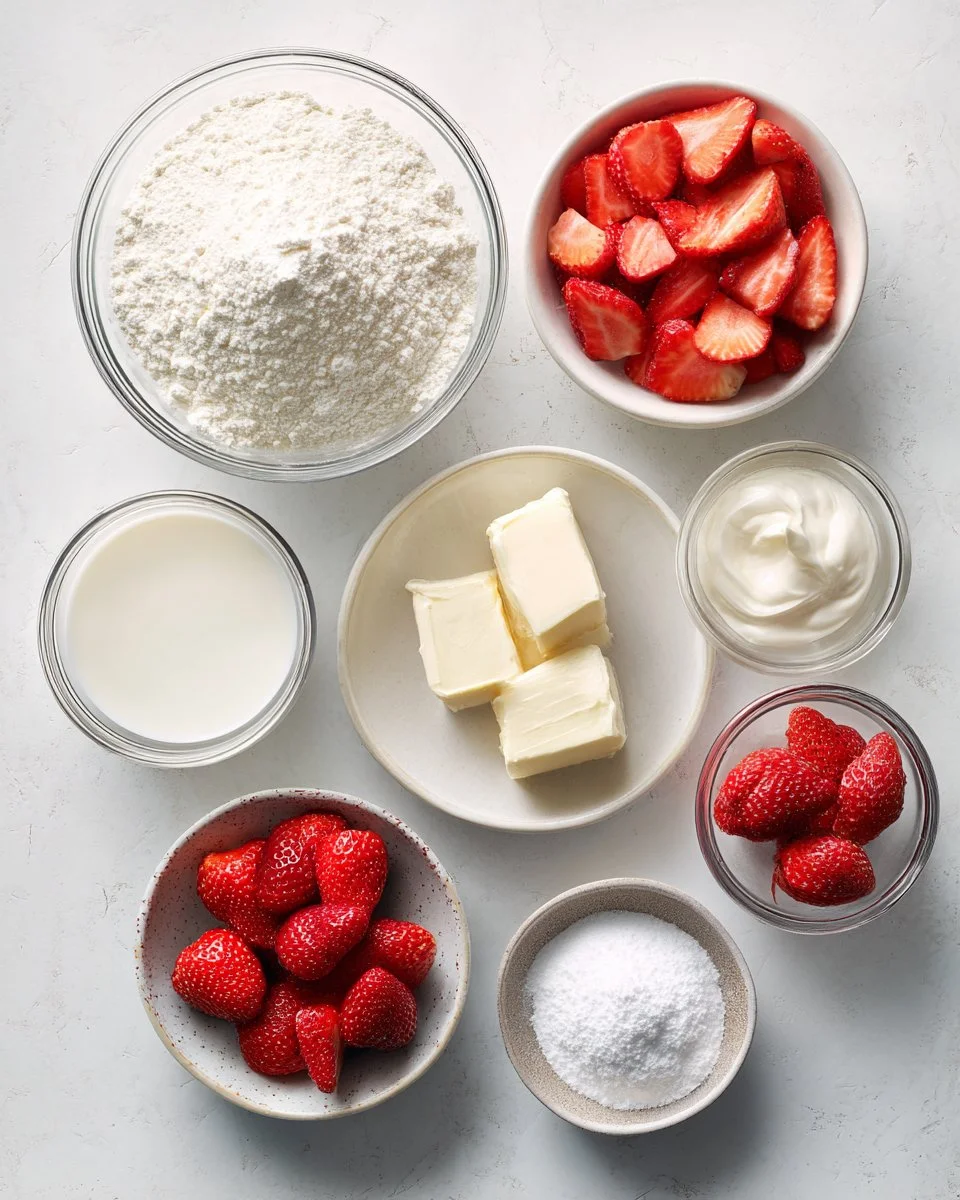
Ingredients
Before diving into the baking, let’s gather our ingredients. Quality matters, so I recommend using high-end butter (like Kerrygold) and fresh, organic strawberries for the best flavor.
- 2 cups all-purpose flour, sifted (I prefer using King Arthur Flour for its consistent quality)
- 1 cup granulated sugar (C&H is my go-to, as it dissolves beautifully)
- 1/2 cup unsalted butter, softened (room temperature is key!)
- 1 cup whole milk (do yourself a favor and use whole for that extra richness)
- 3 1/2 teaspoons baking powder
- 1 teaspoon pure vanilla extract
- 1/2 teaspoon salt
- 3 cups fresh strawberries, sliced
- 1 cup heavy cream (look for organic)
- 2 tablespoons powdered sugar
Prep notes: Be sure your butter is soft enough to cream well with the sugar, and let your eggs come to room temperature for better mixing.
Step-by-Step Instructions
-
Preheat the Oven: Preheat your oven to 350°F (175°C). Grease and flour three 9-inch round cake pans generously. This will prevent any stickiness later!
-
Cream Butter and Sugar: In a large mixing bowl, cream the softened butter and granulated sugar together until light and fluffy, about 3-5 minutes. This gives your cake that light texture.
-
Add Eggs and Vanilla: Add the eggs one at a time, beating well after each addition. Then, mix in the vanilla extract.
-
Combine Dry Ingredients: In a separate bowl, whisk together the flour, baking powder, and salt. Gradually add this to the creamed mixture, alternating with the milk, until everything is just combined. Don’t over-mix!
-
Pour and Bake: Divide the batter evenly among the prepared pans. Smooth the tops with a spatula and bake for 25-30 minutes, or until a toothpick inserted in the center comes out clean. Your kitchen will smell heavenly!
-
Cooling Time: Let the cakes cool in the pans for about 10 minutes, then gently turn them out onto wire racks to cool completely.
-
Whip the Cream: In a chilled mixing bowl, whip the heavy cream with powdered sugar until soft peaks form. The colder your bowl, the better!
-
Assembly: Place one cake layer on a serving platter. Top it with half of the sliced strawberries and a generous layer of whipped cream. Repeat with the second layer.
-
Final Layering: Add the third cake layer on top. Frost the top and sides of the cake with the remaining whipped cream.
-
Decorate and Serve: Garnish with the rest of the strawberries on top and serve immediately for the best flavor experience!
-
Chef’s Tip: For added flair, drizzle a bit of strawberry syrup or sprinkle some fresh mint leaves on top for presentation!
Common mistakes to avoid: Make sure the cake layers are fully cooled before you assemble. Assembly with warm cakes can lead to a soupy disaster!

Expert Tips & Tricks
-
Ingredient Quality: Always use freshest ingredients you can find, especially the strawberries.
-
Storage: Keep leftovers in the fridge, tightly covered, for up to 3 days.
-
Make-Ahead Magic: You can bake the cake ahead of time; just wrap the cooled layers in plastic wrap and freeze them. Thaw before frosting.
-
Whipped Cream Stability: If you’re making the cakes in advance, add a stabilizer like gelatin to your whipped cream to keep it fluffy for longer.
-
Troubleshooting: If your cakes domed too much during baking, use a serrated knife to level them off before layering for a more professional look.
-
Decorating: Sift powdered sugar over the top right before serving for an elegant touch.
Serving Suggestions
These cakes shine on their own, but you can elevate the experience! Pair your Strawberry Shortcake Layer Cake with a scoop of vanilla ice cream or serve it alongside a refreshing glass of lemonade. You can also put together a summer fruit salad on the side, lightening the meal. Presentation-wise, serve on a beautiful cake stand with sprigs of mint for an eye-catching display that’ll wow your guests!
Variations & Substitutions
If you’re eager to switch things up, here are a few ideas:
-
Fruit Variations: Try using blueberries, peaches, or even a mixed berry medley instead of strawberries for diverse flavor profiles.
-
Gluten-Free Option: Substitute all-purpose flour with a gluten-free flour blend, making sure it contains a gum stabilizer.
-
Layer Idea: Consider infusing the whipped cream with lemon curd or Nutella for a flavor twist!
-
Seasonal Options: During the fall, add pumpkin spice to the cake mix for a unique autumnal take.
Nutrition & Storage Info
- Prep Time: 20 minutes
- Cook Time: 30 minutes
- Total Time: 50 minutes
- Yield: About 12 servings
- Estimated Calories: Roughly 350 calories per slice
- Storage Instructions: Keep in an airtight container in the fridge for up to 3 days. It can also be frozen for up to 2 months, just be sure to wrap it well.
FAQ Section
-
Can I use frozen strawberries?
- Frozen strawberries can be used, but make sure they’re thawed and drained to avoid excess moisture.
-
How do I keep my cake from sinking?
- Make sure your baking powder is fresh and do not overmix your batter, which can lead to sinking.
-
What’s the best way to frost my cake?
- Use an offset spatula for a professional touch, and consider chilling the cake slightly to make frosting easier.
-
Can I replace butter with oil?
- While you can, using butter gives the cake its signature flavor and texture. If you must, use a 1:1 vegetable oil substitute.
-
Why is my whipped cream not stiffening?
- Ensure your bowl and beaters are cold. Whipping cream needs to be chilled for best results!
-
How do I know when my cake is done?
- A toothpick inserted into the center should come out clean or with only a few crumbs.
-
Can I double this recipe?
- Yes! Just make sure your mixing bowl is large enough to accommodate the extra batter.
-
Can I add food coloring?
- Yes! If you want a bit more color, feel free to add a few drops to the cake batter or frosting.
-
What’s the best way to serve this cake?
- Best served chilled from the fridge for a refreshing dessert.
-
Can I use non-dairy substitutions?
- Absolutely! Use coconut cream for whipped topping and replace the milk with almond or oat milk.
Conclusion
This Strawberry Shortcake Layer Cake isn’t just a dessert; it’s a slice of joy that grounds us in tradition and delights our taste buds. The journey of making it is as rewarding as enjoying it. I encourage you to try this recipe; it may just become your go-to treat for any occasion!
I’d love to hear how your cake turns out. Share your feedback, or if you have any questions, drop them in the comments below. And if you’re looking for more delicious recipes, check out my other baking adventures on the blog. Happy baking!
Strawberry Shortcake Layer Cake
Ingredients
Method
- Preheat your oven to 350°F (175°C). Grease and flour three 9-inch round cake pans generously.
- In a large mixing bowl, cream the softened butter and granulated sugar together until light and fluffy, about 3-5 minutes.
- Add the eggs one at a time, beating well after each addition. Then, mix in the vanilla extract.
- In a separate bowl, whisk together the flour, baking powder, and salt. Gradually add this to the creamed mixture, alternating with the milk, until just combined.
- Divide the batter evenly among the prepared pans. Smooth the tops with a spatula and bake for 25-30 minutes, or until a toothpick inserted in the center comes out clean.
- Let the cakes cool in the pans for about 10 minutes, then gently turn them out onto wire racks to cool completely.
- In a chilled mixing bowl, whip the heavy cream with powdered sugar until soft peaks form.
- Place one cake layer on a serving platter. Top it with half of the sliced strawberries and a generous layer of whipped cream. Repeat with the second layer.
- Add the third cake layer on top. Frost the top and sides of the cake with the remaining whipped cream.
- Garnish with the rest of the strawberries on top and serve immediately.