
Irresistibly Rich Browned Butter: Unlock the Secret Flavor That Will Elevate Your Baking Game!
There’s something about the warm, nutty aroma of browned butter that takes me back to my grandmother’s kitchen. I can still picture her stirring a pot on the stove, the rich scent filling the air, reminding me of the countless family gatherings filled with laughter, love, and delicious food. Every time I make browned butter, I remember those precious moments, and I can’t help but smile.
What makes this recipe special is not just its remarkable depth of flavor; it’s the transformation from simple butter to a culinary gem that adds a profound richness to any dish. Unlike recipes that stick to basic butter or margarine, my browned butter technique allows you to unlock layers of flavor that can elevate even the most humble of recipes.
By the time you finish reading this post, you’ll learn how to master the art of browning butter—an essential skill that will have you impressing friends and family alike! Trust me; once you incorporate this magic ingredient into your dishes, you’ll never look at butter the same way again.
What Are Browned Butter?
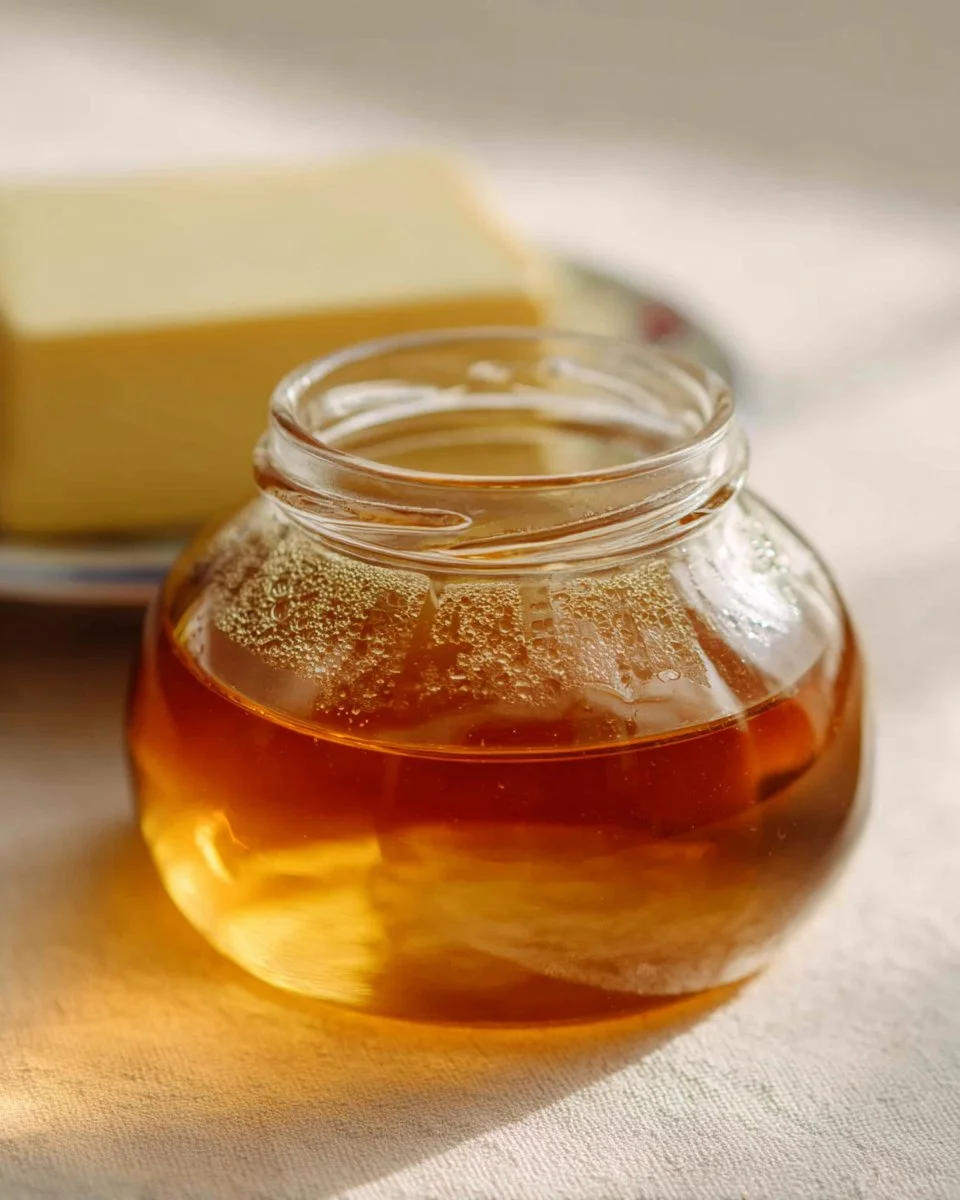
Historically, browned butter, known as "beurre noisette" in French, is often celebrated in classic recipes but has recently become a darling of modern kitchens. The process involves gently cooking butter until it turns a glorious golden-brown, releasing a nutty aroma and transforming its flavor into something magnificent. The unique browning occurs when the milk solids in the butter caramelize, creating a complex taste and velvety texture.
Picture this: a spoonful of your favorite cookie dough, but with a toasty, nutty backend—pure bliss! Browned butter isn’t just for baked goods; it shines in savory dishes as a finishing touch or a sauce. Whether you’re whipping up cookies, pasta, or even veggies, browned butter will elevate your dish from ordinary to extraordinary. So, why wait? Dive into the world of browned butter; it’s the culinary secret you didn’t know you needed!
Why You’ll Love This Recipe
Here are just a few reasons why this browned butter recipe will become your go-to kitchen companion:
-
Depth of Flavor: Store-bought butter simply can’t compete with the rich, nutty taste of browned butter. With this simple technique, your cookies, cakes, and sauces will soar in flavor.
-
Fast and Easy: With just a few minutes of your time, you can create a game-changing ingredient. It’s perfect for those who are short on time but still want to impress.
-
Cost-Effective: You don’t need fancy ingredients to make magic happen in your kitchen. Browned butter is made from simple, affordable ingredients, yet it transforms dishes into gourmet experiences.
-
Customization Options: Want to play around with flavors? Feel free to add herbs to your browned butter for a unique twist, making it versatile for both sweet and savory applications.
-
Beginner-Friendly: You don’t need to be a pro chef to pull this off; follow my step-by-step instructions, and you’ll soon be browning butter like a seasoned expert!
With just a little practice, you’ll be able to harness the power of browned butter, delightful for family gatherings, special occasions, or just because you want to treat yourself.

Ingredients Section
Here’s what you need to create your perfect browned butter:
- 1/2 cup (1 stick / 113 g) unsalted butter
- Note: Always use high-quality unsalted butter for the best results. Brands like Kerrygold or Plugra are excellent choices due to their richness.
Before starting, ensure your butter is at room temperature for even melting.
Step-by-Step Instructions
-
Melt the Butter: In a stainless steel skillet over medium-high heat, add the butter. Swirl the pan occasionally to help it melt evenly.
-
Foaming Stage: As you watch the butter melt, it will begin to foam. This is the water evaporating. Don’t worry; this is completely normal! Stay close and keep an eye on it.
-
Browning: After a few minutes, you’ll notice the foaming subsides, and the butter starts turning a beautiful chestnut brown. This is the moment you should inhale the nutty aroma wafting through the air—a definite sign you’re doing it right!
-
Remove from Heat: As soon as the butter turns a rich brown (usually around 5-7 minutes), remove it from the heat immediately to prevent burning. Pro Tip: When in doubt, take it off; you can always return it to heat.
-
Cooling: Pour the browned butter into a heat-safe bowl, stirring for 1-2 minutes as it cools down to help stabilize it.
-
Storage: Let it cool entirely, then refrigerate in a sealed container for up to 5 days, or freeze them in an ice cube tray for up to 3 months.
Chef’s Tips:
- Always use a light-colored skillet; it helps you monitor the color change better.
- If you’re not sure about your timing, taste a tiny drop once it cools slightly; it should have a rich, nutty flavor.
Common mistakes to avoid:
- Don’t walk away! The butter can go from perfect to burnt in seconds.
- If your butter smells burnt and has black bits, it’s time to start over.
Expert Tips & Tricks
-
Quality Counts: Choose the best butter you can find; it makes a huge difference in taste.
-
Batch Size: You can double the recipe if you need more for baking; just remember that the browning time might increase slightly.
-
Flavor Boost: Add herbs like sage or thyme for a savory twist, or a splash of vanilla for something sweeter.
-
Storage: Always let the browned butter cool before sealing it, as trapping heat can lead to spoilage.
-
Make-Ahead: If you know you’ll need browed butter for a recipe in advance, prepare it the day before and store it in the fridge.
-
Troubleshooting: If you find little black bits when pouring, strain the butter through a fine mesh sieve for a smoother texture.
Serving Suggestions
Browned butter can be served alongside various dishes. Drizzle it over roasted vegetables for an extra layer of flavor, or stir it into pasta with freshly grated Parmesan for a comforting weeknight meal. If you’re feeling decadent, pour it over a scoop of vanilla ice cream for a surprising twist.
Presentation Ideas: Try serving it in a small dish with a sprig of your favorite herb or with artisan bread for dipping.
Occasion Recommendations: Perfect for lunch, dinner, or special occasions like Thanksgiving when you want to add that special touch.
Variations & Substitutions
-
Sweet Options: Add cinnamon or pumpkin spice for a seasonal flavor boost—perfect for autumn treats!
-
Savory Options: Mix in garlic cloves or shallots while browning it for a robust finishing sauce for meats.
-
Dietary Adaptations: Dairy-free options can use vegan butter substitutes, keeping in mind the flavor profile might subtly change.
-
Seasonal Variations: In the winter, you might want to infuse your browned butter with rosemary or sage for a cozy holiday flavor.
-
Flavor Additives: Experiment with orange or lemon zest for a bright twist that complements both sweet and savory dishes.
Nutrition & Storage Info
- Prep Time: 5 minutes
- Cook Time: 5-7 minutes
- Total Time: 10-12 minutes
- Yield: Approximately 1/2 cup
- Estimated Calories: 100 calories per tablespoon
Storage Instructions:
- Room Temperature: Not recommended.
- Fridge: Store in sealed container for up to 5 days.
- Freezer: Freeze in ice cube tray for up to 3 months.
FAQ Section
-
Can I double the recipe?
Yes, just be sure to monitor the browning time closely as it may take a bit longer. -
What can I use browned butter in?
Use it in baking recipes like cookies or cakes, or drizzle it over vegetables and pasta for flavor. -
How do I know if I’ve burnt the butter?
If it smells excessively bitter, or has black bits, you’ve likely burnt it and should start fresh. -
Can I use salted butter?
Yes, but it will be saltier, so adjust any additional salt in your recipes accordingly. -
What flavor combinations work with browned butter?
Vanilla, chocolate, and nutmeg for sweet dishes; garlic and citrus for savory dishes. -
Can I use an alternative to butter?
You can try vegan butter, but results may vary in flavor and texture. -
How do I store it?
Allow to cool completely before sealing in a container. Store in the fridge or freezer. -
How long does it last?
In the fridge, it lasts about 5 days; in the freezer, 3 months. -
Why is my browned butter not turning brown?
If the heat is too low, it may just be melting. Increase the heat slightly while watching closely. -
Is browned butter supposed to smell nutty?
Yes! A nutty aroma is a sign that your butter is perfectly browned.
Conclusion
This browned butter recipe transforms the ordinary into something truly special. I promise that once you give it a try, you’ll be hooked on its rich, nutty flavor. Whether you’re whipping up a decadent dessert or adding a hint of sophistication to a savory dish, browned butter is your new best friend in the kitchen.
Don’t forget to drop a comment below and let me know how your browned butter turned out! I’d love to hear your tips or feedback. If you’re craving more delicious recipes, check out my blog for other tried-and-true favorites. Happy cooking and happy browning!

Browned Butter
Ingredients
Method
- In a stainless steel skillet over medium-high heat, add the butter. Swirl the pan occasionally to help it melt evenly.
- As you watch the butter melt, it will begin to foam. This is the water evaporating. Don’t worry; this is normal! Stay close and keep an eye on it.
- After a few minutes, you’ll notice the foaming subsides, and the butter starts turning a beautiful chestnut brown. This is the moment to inhale the nutty aroma wafting through the air.
- As soon as the butter turns a rich brown, remove it from the heat immediately to prevent burning. Pro Tip: When in doubt, take it off; you can always return it to heat.
- Pour the browned butter into a heat-safe bowl, stirring for 1-2 minutes as it cools down to help stabilize it.
- Let it cool completely, then refrigerate in a sealed container for up to 5 days, or freeze in an ice cube tray for up to 3 months.