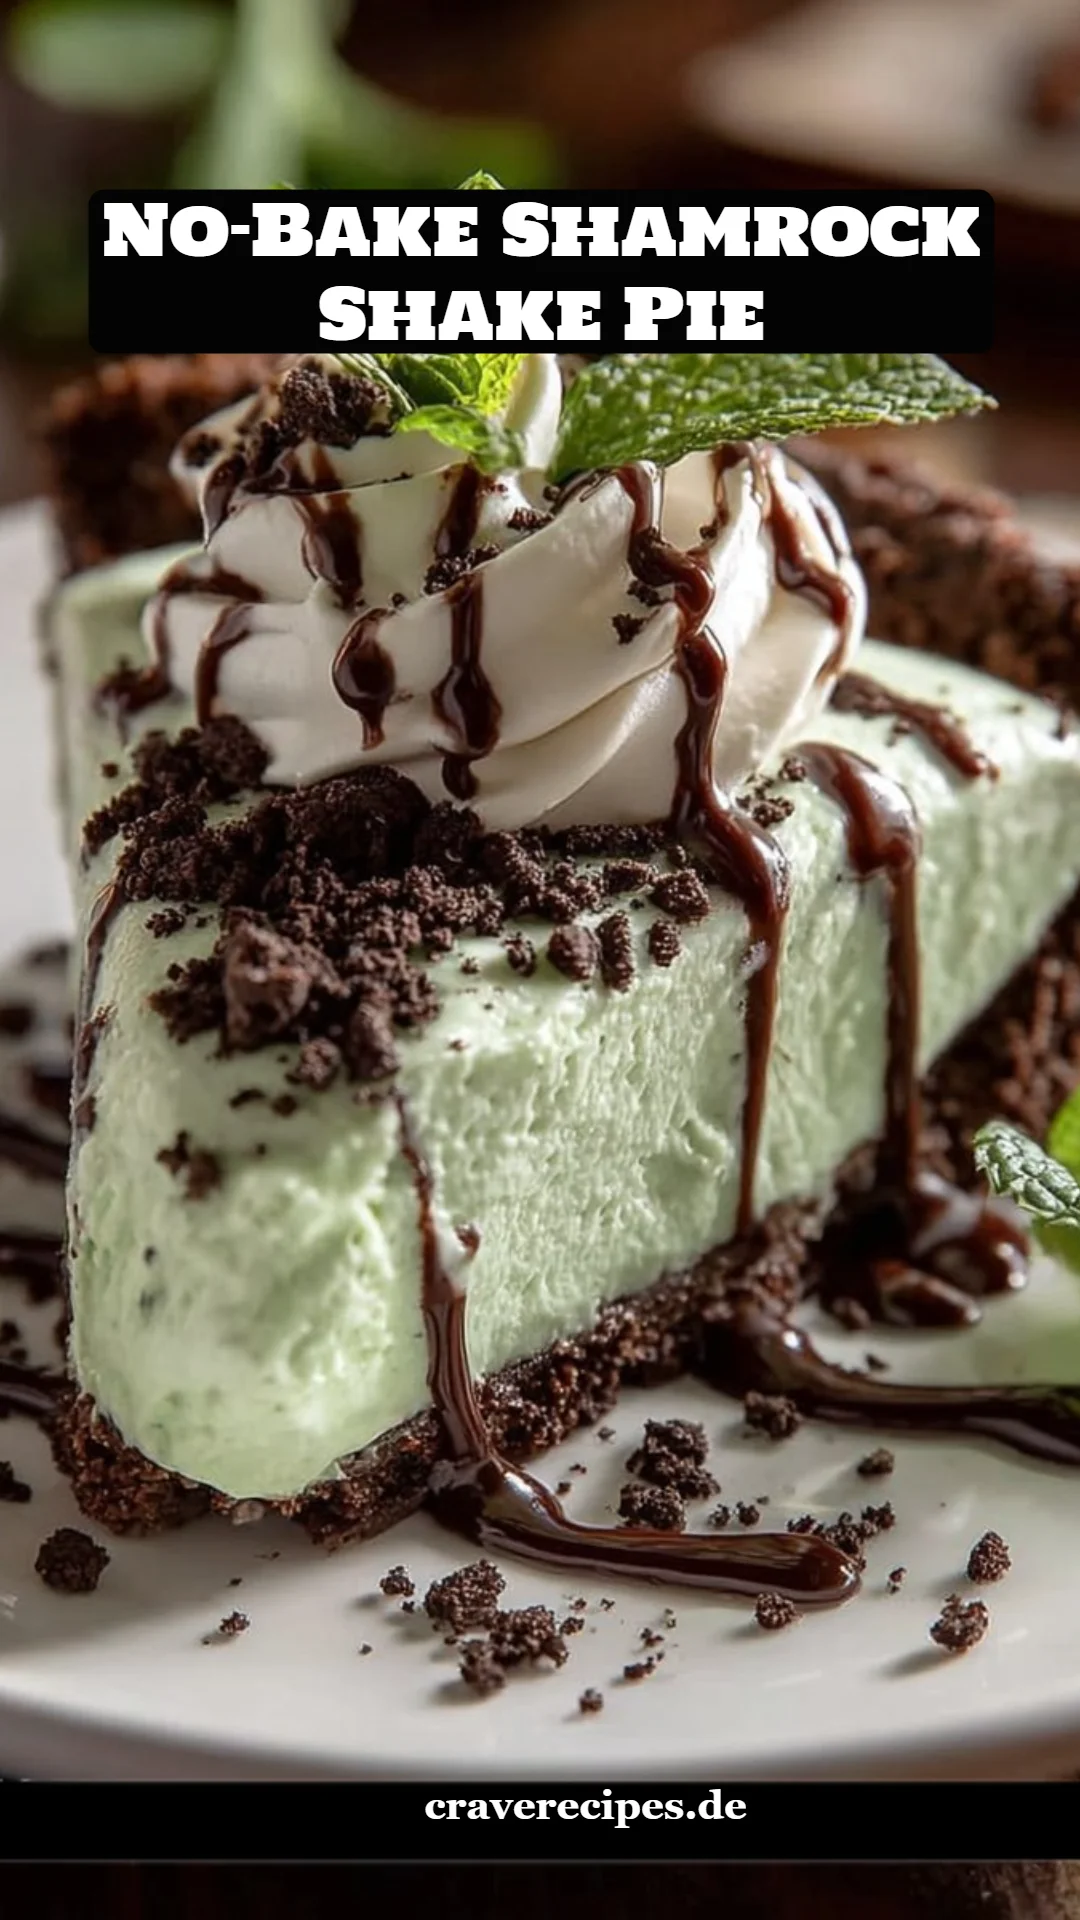
Delightfully Easy No-Bake Shamrock Shake Pie: Your New St. Patrick’s Day Favorite!
There’s something undeniably magical about the flavors and cheerful green color of a Shamrock Shake. I vividly remember the excitement of my family road trips during March, where a visit to our favorite diner wouldn’t be complete without indulging in those creamy, minty goodness shakes. And that’s how my love for this No-Bake Shamrock Shake Pie was born! Inspired by those fond memories, I’ve crafted a pie that captures all the essence of those shakes, combined with the ease of no-bake goodness.
What makes this pie special isn’t just its nostalgic flavor, but the fact that it’s incredibly easy to whip up, requiring no baking skills whatsoever. It’s a dessert that brings smiles and laughter to gatherings, making it perfect for St. Patrick’s Day celebrations or any day you want to indulge in a sweet treat. This pie is a family favorite and a go-to recipe that I always keep in my back pocket. In this post, I’ll share with you my secret to making this delightful No-Bake Shamrock Shake Pie, ensuring that you’ll feel like a baking pro in your own kitchen, even if you’ve never baked a day in your life!
What Are No-Bake Shamrock Shake Pies?
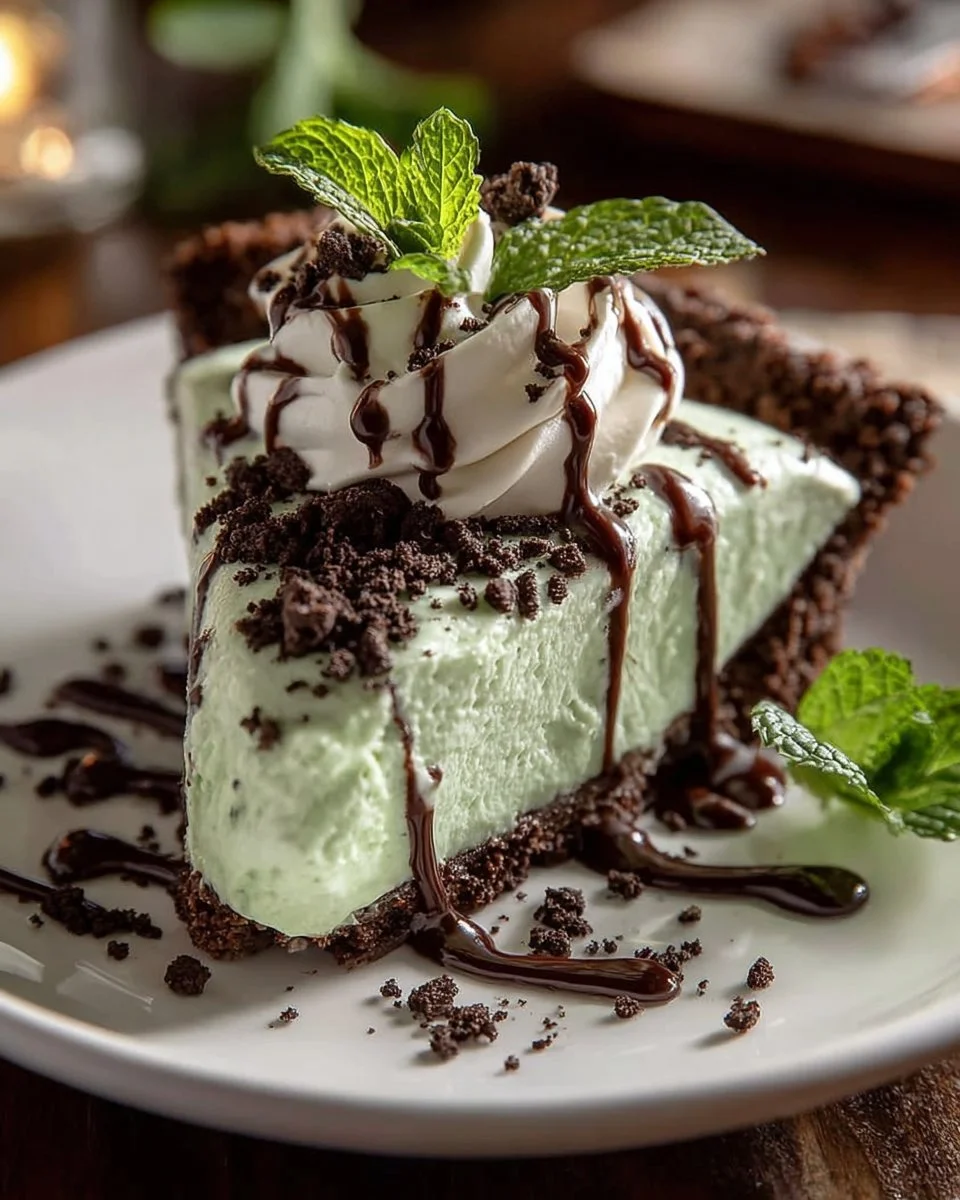
The No-Bake Shamrock Shake Pie originates from the beloved seasonal dessert popularized in fast-food chains. It’s a delightful twist on the traditional Shamrock Shake, combining a creamy mint-flavored filling with a crunchy Oreo crust. The taste is a wonderful blend of sweet and minty, reminiscent of ice cream with the added richness of cream cheese—making it oh-so-decadent!
The texture is creamy and silky smooth, with a satisfying crunch from the cookie crust that elevates every bite. What makes these pies unique is their effortless preparation and delightful presentation. They can be whipped up in just about half an hour (plus chilling time) and are sure to impress guests at any gathering. Whether you’re celebrating St. Patrick’s Day, hosting a party, or just craving a delicious dessert, this pie is a perfect choice!
Why You’ll Love This Recipe
-
No Baking Required: It’s truly a no-bake recipe, which means you can have this delicious dessert ready to go without ever turning on the oven. Perfect for warmer months or when you want to keep things cool!
-
Cost-Effective: Compared to buying a slice from a bakery or store, making this pie at home is incredibly budget-friendly. The ingredients are simple and you likely have most of them already in your pantry.
-
Customizable: Don’t like mint? You can easily switch out the mint extract for a different flavor, such as vanilla or chocolate. You can also decorate it with your favorite toppings or mix in ingredients like crushed cookies or candies.
-
Time-Saver: This recipe can be prepared in under an hour (not including chilling). You can have it ready for your guests in no time, leaving you with more moments to enjoy with them!
-
Crowd-Pleaser: I’ve brought this pie to various family gatherings, and I’m always met with compliments and requests for the recipe. It’s rare to find a dessert with universal appeal—and this one has it!
Ingredients
- 1 ½ cups Oreo cookie crumbs: For the crunch. Use high-quality Oreo cookies—homemade crumbs will also work!
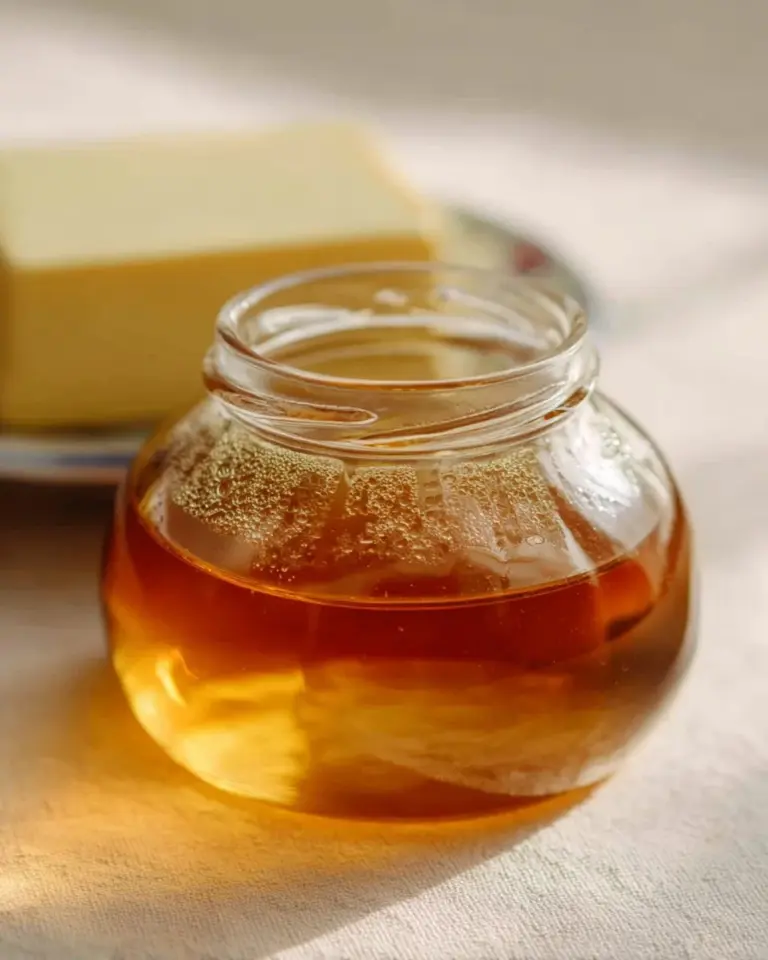
- 6 tablespoons unsalted butter, melted: Make sure the butter is at room temperature for easier mixing.
- 8 ounces cream cheese, softened: Brands like Philadelphia make a creamy base for the filling.
- 1 cup cold milk: 2% or whole milk will give the best texture!
- 3.4 ounces instant vanilla pudding mix: This thickens the filling and adds flavor.
- 1 teaspoon mint extract: Use pure mint extract for a fresh taste.
- 3 drops green food coloring: Optional, but necessary for that festive St. Patrick’s Day touch!
- 8 ounces whipped topping, thawed: I love using Cool Whip, but feel free to use homemade whipped cream if you prefer.
- 2 tablespoons chocolate syrup (optional): Optional drizzle for added sweetness and a gourmet touch.
Prep Notes: Make sure that you’re using room temperature cream cheese for a smoother texture, and always melt butter carefully to avoid burning.
Step-by-Step Instructions
1. Prepare the Crust
In a bowl combine Oreo cookie crumbs and melted butter until evenly moistened. The crumb mixture should resemble wet sand.
2. Form the Pie Crust
Press the crumb mixture firmly into the bottom and up the sides of a 9-inch pie dish to form the crust. Use a measuring cup or your fingers to press it down evenly for a sturdy base.
3. Create the Filling
In a separate bowl, beat the cream cheese until smooth and creamy. It should be free of lumps.
4. Mix In The Wet Ingredients
Pour in cold milk, then add instant vanilla pudding mix, mint extract, and green food coloring. Whisk until thickened.
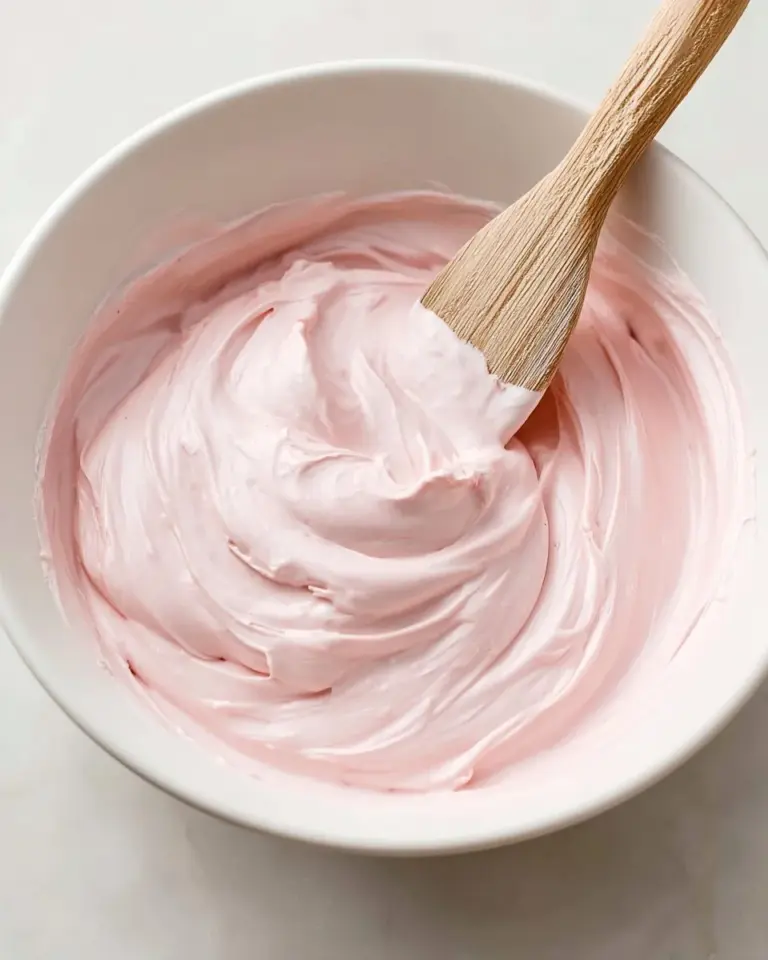
5. Fold In Whipped Topping
Gently fold in the whipped topping until fully incorporated and light green throughout. Be careful not to deflate the mixture.
6. Assemble the Pie
Spoon the filling into the prepared crust and smooth the top with a spatula.
7. Chill
Refrigerate the pie for at least 4 hours or until set. You can leave it overnight for best results.
8. Drizzle Optional Topping
Before serving, drizzle chocolate syrup over the top, if desired, for an elegant finish.
Chef’s Tips:
- Visual Cues: The filling should be thick enough to hold its shape when you cut into it, so don’t rush the chilling time.
- Common Mistake: Avoid overmixing the filling to keep it light and airy.
Expert Tips & Tricks
-
Storage: This pie can be stored covered in the refrigerator for up to 5 days. It also freezes well, so feel free to make it ahead of time. Just thaw it in the refrigerator before serving!
-
Make-Ahead: You can make the crust and filling a day in advance. Just combine them the day you plan to serve.
-
Troubleshooting: If your cream cheese isn’t fully softened, you’ll end up with lumps in your pie. Leave it out for at least 30 minutes prior to mixing.
-
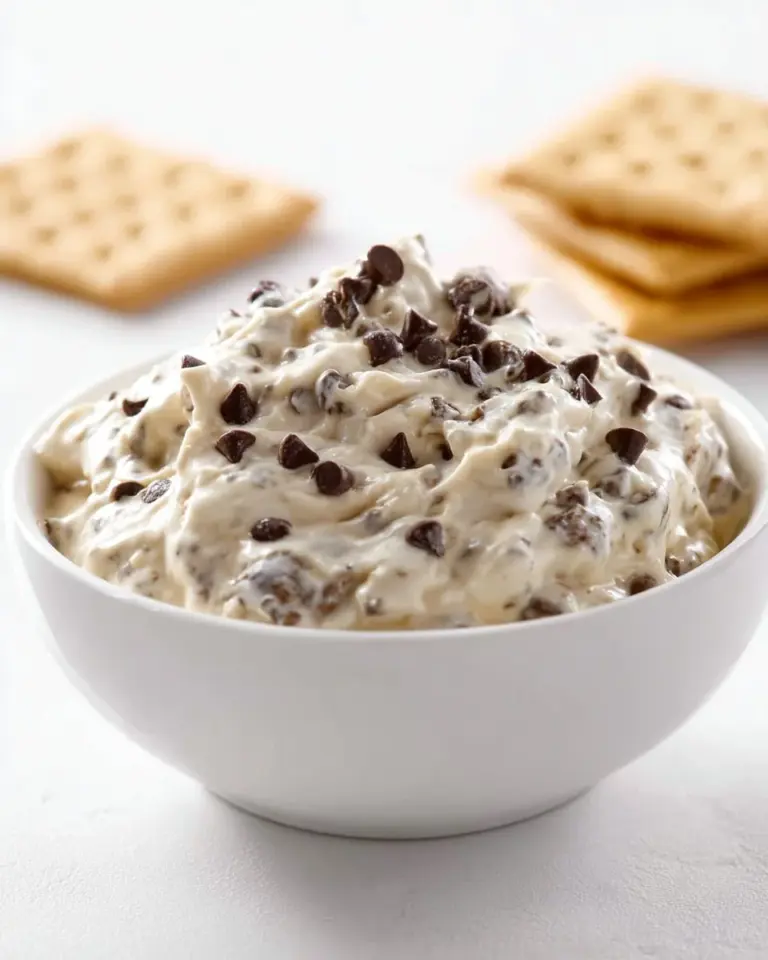
Customization: Try adding mini chocolate chips into the filling for an extra treat or crumbled candy on top for a festive flair.
-
Layering: Consider layering this pie with additional flavors, such as a layer of chocolate ganache at the bottom of the crust.
Serving Suggestions
This No-Bake Shamrock Shake Pie is perfect for any festive occasion but shines most brightly during St. Patrick’s Day celebrations. Serve it alongside a scoop of mint or vanilla ice cream for an extra cold treat, or pair it with fresh fruit for a refreshing contrast.
For an eye-catching presentation, adorn your pie with whipped cream peaks or extra crumbled Oreos. Consider serving this showstopper on a bed of green-tinted, edible grass for fun!
Variations & Substitutions
-
Flavor Combinations: Switch out the mint for things like caramel or coconut extracts for a new twist. You can even create a chocolate version with chocolate pudding and a chocolate cookie crust!
-
Dietary Restrictions: For gluten-free options, substitute the Oreos with gluten-free cookies. You can also use dairy-free cream cheese and coconut whipped cream for a dairy-free version.
-
Seasonal Variations: Though great for St. Patrick’s Day, consider turning it into a winter holiday dessert by swapping mint for peppermint extract and garnishing with crushed candy canes!
Nutrition & Storage Info
- Prep Time: 20 minutes
- Chill Time: 4 hours
- Total Time: 4 hours 20 minutes
- Yield: Serves 8 slices
- Estimated Calories: 250 calories per serving (varies based on specific ingredients used)
- Storage Instructions: Store in the refrigerator for up to 5 days or freeze for up to a month. Just thaw overnight in the fridge before serving.
FAQ Section
-
Can I make this pie in advance?
Absolutely! This pie can be made a day ahead of time or even frozen for an extended shelf-life. -
What’s the best way to store leftovers?
Ensure to cover the pie with plastic wrap or transfer slices into an airtight container in the refrigerator. -
Can I use a different type of cookie for the crust?
Yes! You can use any type of cookie you love—try vanilla wafers, graham crackers, or even gluten-free options. -
Do I have to use food coloring?
Nope! The food coloring is just for aesthetics. The flavor won’t change without it. -
Can I use homemade whipped cream?
Definitely! Just ensure it’s whipped to stiff peaks for the best results. -
Is it alright to skip the mint?
Of course! You can swap the mint extract for any flavor you enjoy, such as vanilla or almond. -
What can I do if my filling is too runny?
If your filling doesn’t set, try adding a bit more instant pudding or refrigerate it longer until it thickens. -
How do I make it easier to slice?
Dip a sharp knife in hot water, wipe it dry, and make your cuts warm for cleaner slices. -
What toppings do you suggest?
Whipped cream, crushed Oreos, chocolate syrup, or even fresh mint leaves work perfectly! -
Is this pie suitable for kids?
Yes! The flavors are delightful and kids love the green color. Just be mindful of any allergies.

Conclusion
There you have it! This No-Bake Shamrock Shake Pie is not only a breeze to make but also a delightful treat that captures the joy of St. Patrick’s Day or any cheerful gathering. Each slice brings back cherished memories and creates new ones, and I can’t wait for you to share it with your loved ones. Don’t forget to share your feedback in the comments—I’d love to hear how your pie turns out! Looking for something else delightful? Check out my other fun recipes for more sweet indulgences!

No-Bake Shamrock Shake Pie
Ingredients
Method
- In a bowl combine Oreo cookie crumbs and melted butter until evenly moistened. The crumb mixture should resemble wet sand.
- Press the crumb mixture firmly into the bottom and up the sides of a 9-inch pie dish to form the crust. Use a measuring cup or your fingers to press it down evenly for a sturdy base.
- In a separate bowl, beat the cream cheese until smooth and creamy. It should be free of lumps.
- Pour in cold milk, then add instant vanilla pudding mix, mint extract, and green food coloring. Whisk until thickened.
- Gently fold in the whipped topping until fully incorporated and light green throughout. Be careful not to deflate the mixture.
- Spoon the filling into the prepared crust and smooth the top with a spatula.
- Refrigerate the pie for at least 4 hours or until set. You can leave it overnight for best results.
- Before serving, drizzle chocolate syrup over the top, if desired, for an elegant finish.